Converting Our Office Into a Nursery
It's been a minute since we've had a home improvement post to share. But this one has been sitting in the drafts folder for a while now, and it seems time to share.
Once we got through the scariest parts of my pregnancy and were pretty confident we'd be bringing home a baby in the summer, we got to work converting the room that had been our home office into a room for the baby.
The room is the smallest of the three in our house, and I knew since it wasn't huge, I wanted to do some sort of wall feature. We debated a bit between board and batten or picture frame moulding, but before we could do anything to add some character to the room, we had to do some basic repairs.
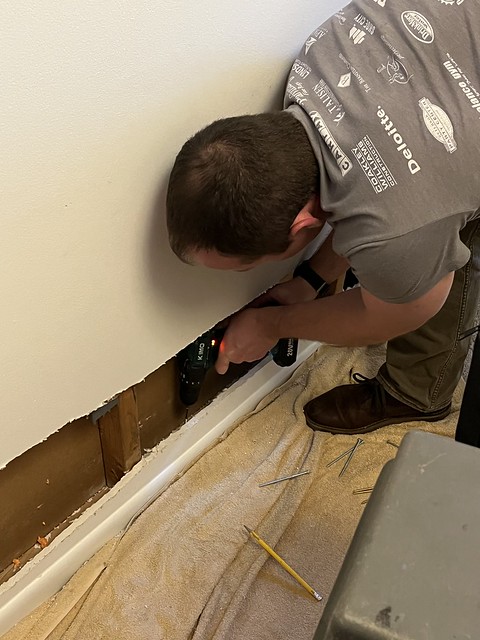
The floor in this room squeaked horribly from the house settling over the years. We tried a couple of simpler solutions that ended up not solving the problem, so we had to open the wall and add a bunch of screws into the wall framing to tighten things up.
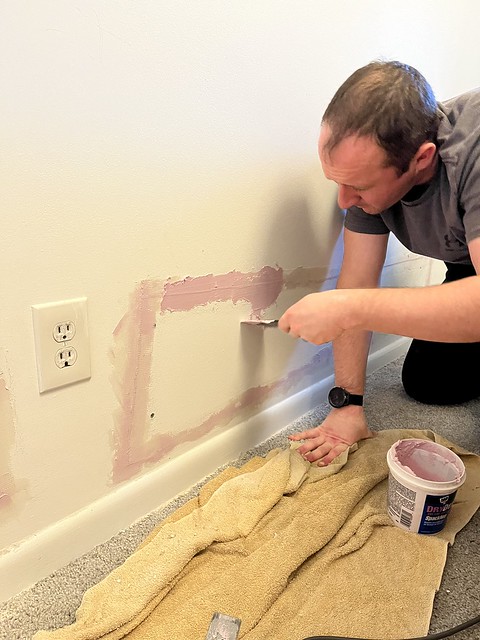
Once the squeaking was eliminated we patched the wall back up.
(I promise I didn't just take the pictures. I did work too).
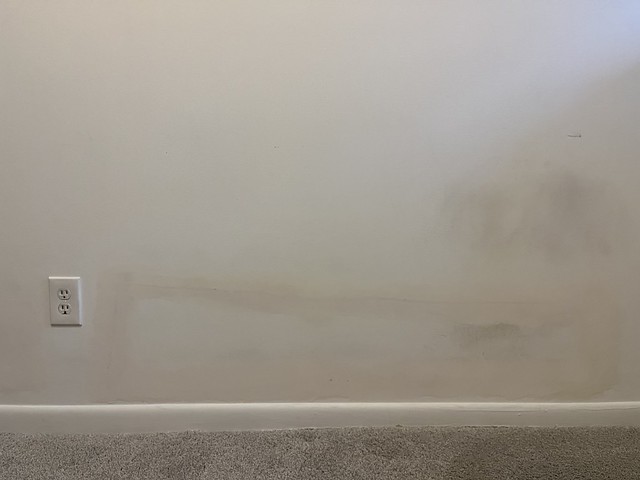
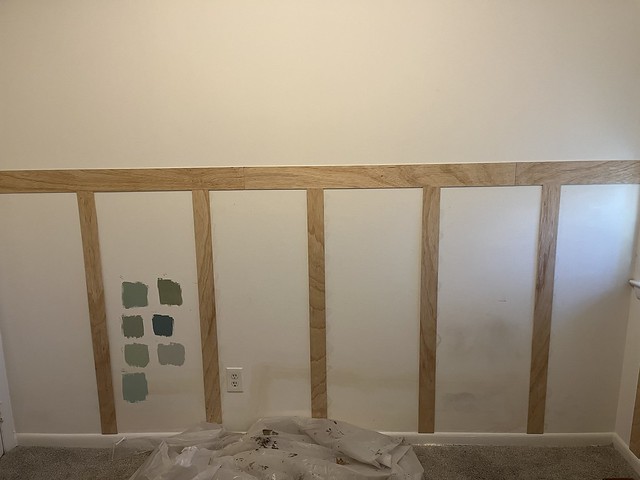
Once we had the wall repaired, we had our blank slate to work with. We settled on board and batten for our wall feature, and started using painters tape to visualize the height and width of our potential battens. I will not tell you how long we spent on getting all the measurements right and trying to figure out how to make sure no battens overlapped outlets or created awkward spacing in corners or by doors. The prep work and the math took a lot of time, but it was worth it because once this was done, it was a matter of getting the supplies and diving right into the work.
I also went a bit overboard on the paint samples in my quest to find a green that would feeling calming and soothing.
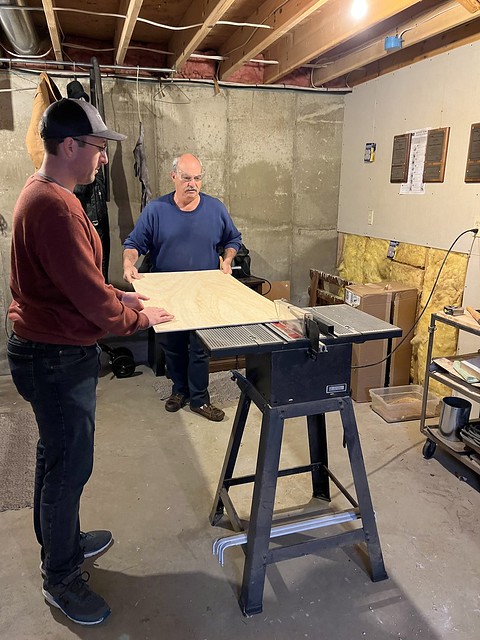
Since this was a small room, I wanted to make sure our battens were very thin and wouldn't make the furniture sit off the wall too much. We priced out quarter inch thick wood boards and realized it would cost us a lot of money to buy all the battens individually. Instead, we bought a single piece of quarter inch thick plywood and used my dad's table saw to rip it down to 3 inch wide pieces for the battens and 4 inch wide pieces for the horizontal boards at the top.
Once we got all the wood home, it was time to start nailing it to the walls. We worked section by section, hanging our horizontal pieces first to ensure they were level and then fitting our vertical battens in as we went. Since our walls aren't perfectly level, we had to get creative at some points and add some filler at the bottom of some of the battens so everything would line up nicely between the baseboard and the top board.
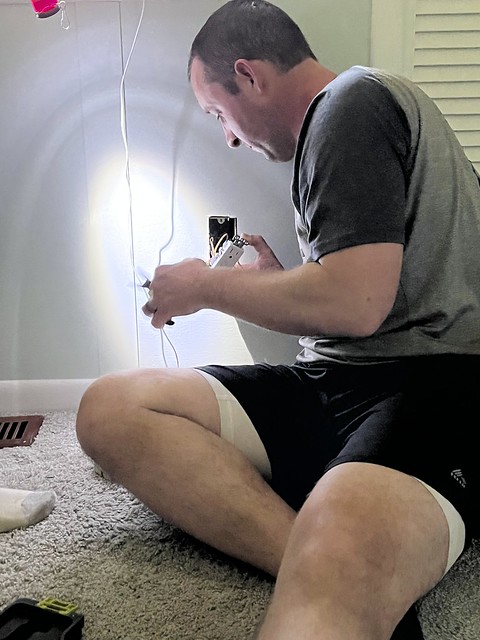
Oh look, a picture of me actually doing work.
After we got the wood all hung, it was time for my least favorite part of any project -- the caulking and the wood filing. There were tons of small nail holes that needed to be filled in, though that part went fairly quickly. The caulking always takes me forever. I knocked it out in an afternoon though, and let it sit to dry overnight so that I could dive into the priming and painting.
The wood all got a coat of primer and so did the areas of the wall that we had patched.
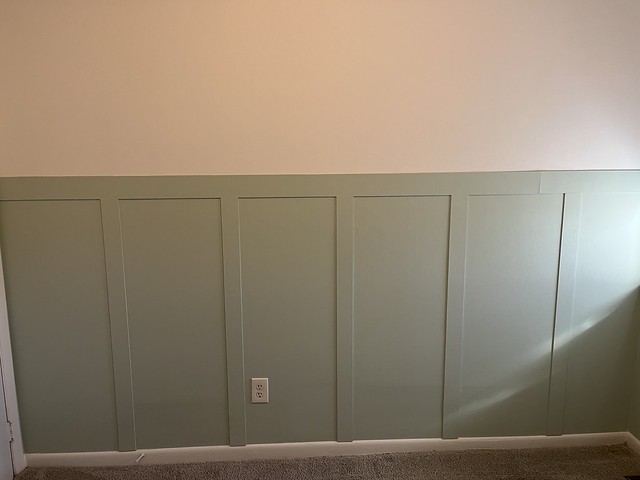
Then we hit everything with two coats of Benjamin Moore's Jack and the Beanstalk. The painting took some time as we had to alternate between brushes and rollers to get clean edges around the wood and smooth finishes on the walls.
To brighten the room a bit, we also painted the top half of the walls Benjamin Moore's Chantilly Lace.
For safety, we changed all the outlets, replacing them with childproof ones. We also rehung one of the closet doors to make it easier to open after we had the crib in the room.
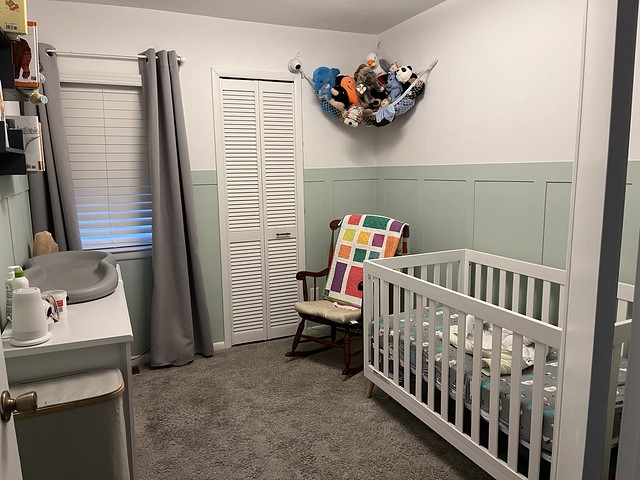
We built the furniture, hung the bookshelves, and then just waited for our little guy to be ready to move in.
I spend a lot of time in this room now, and I love the way it turned out.















0 comments